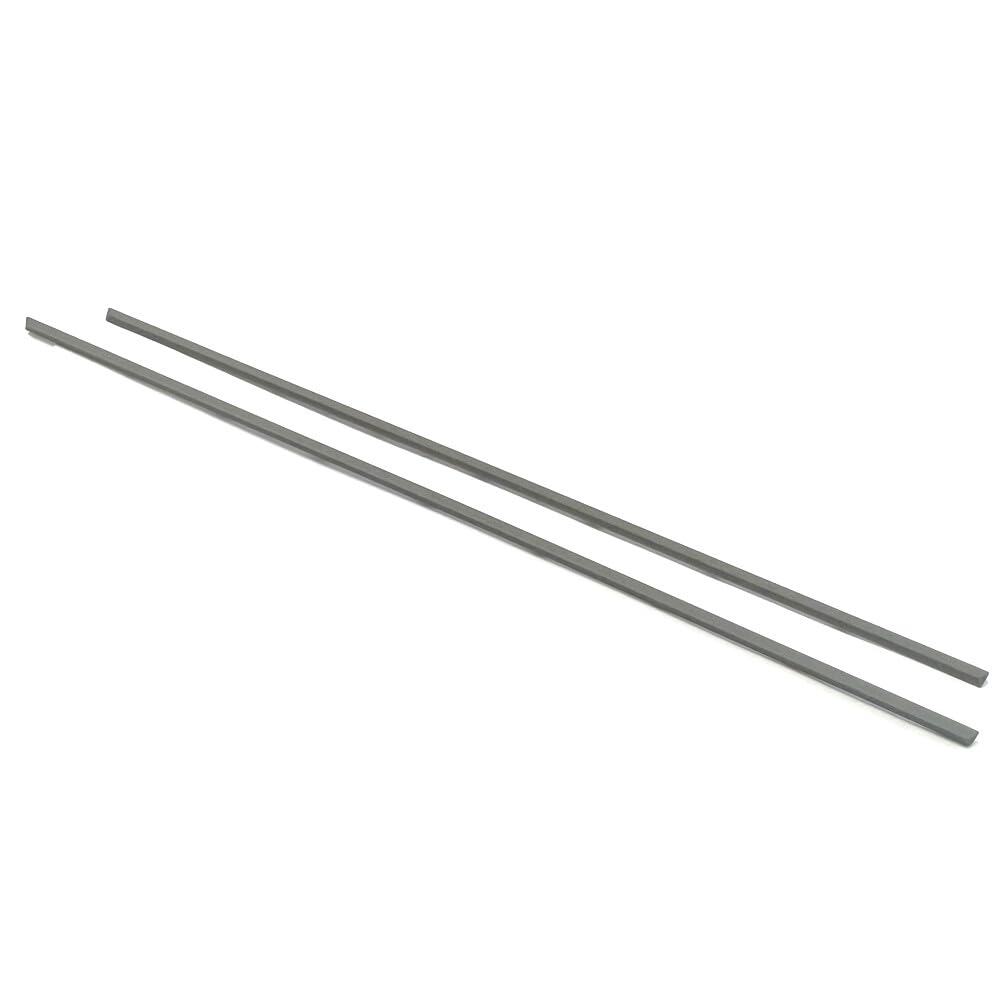
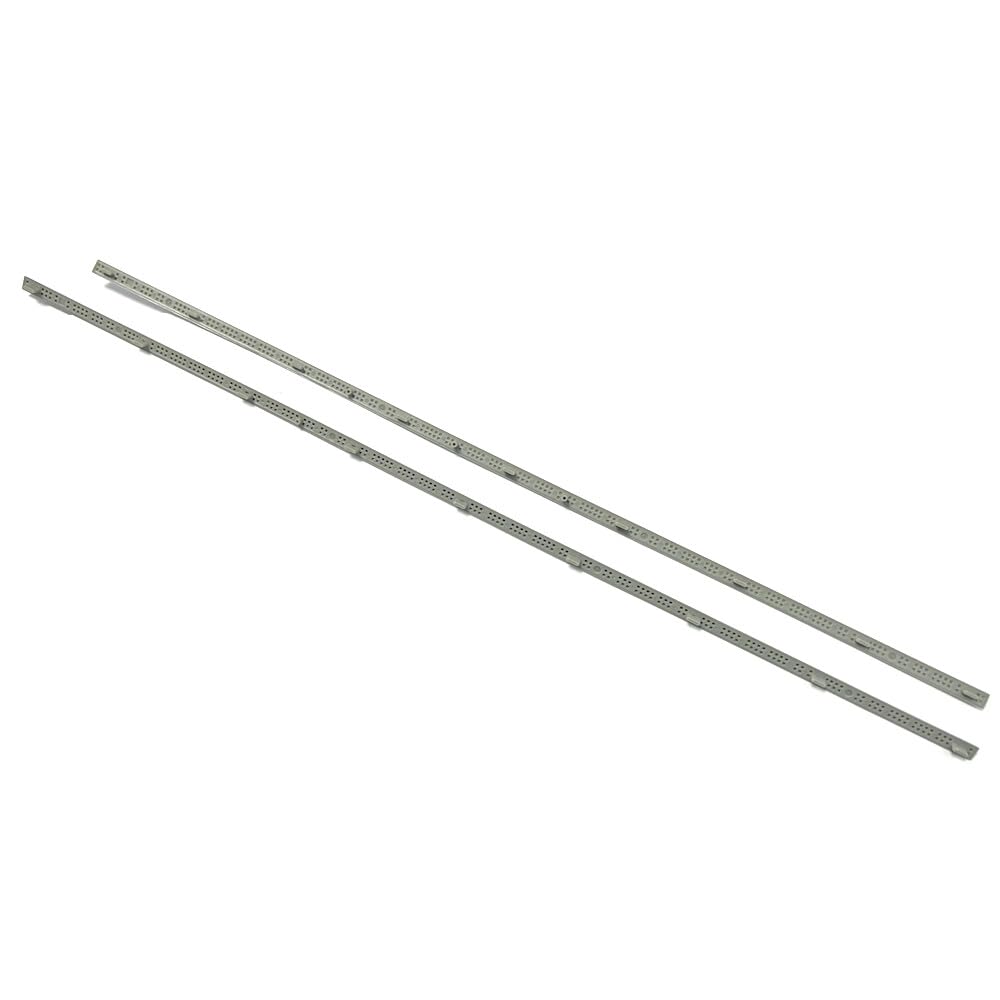
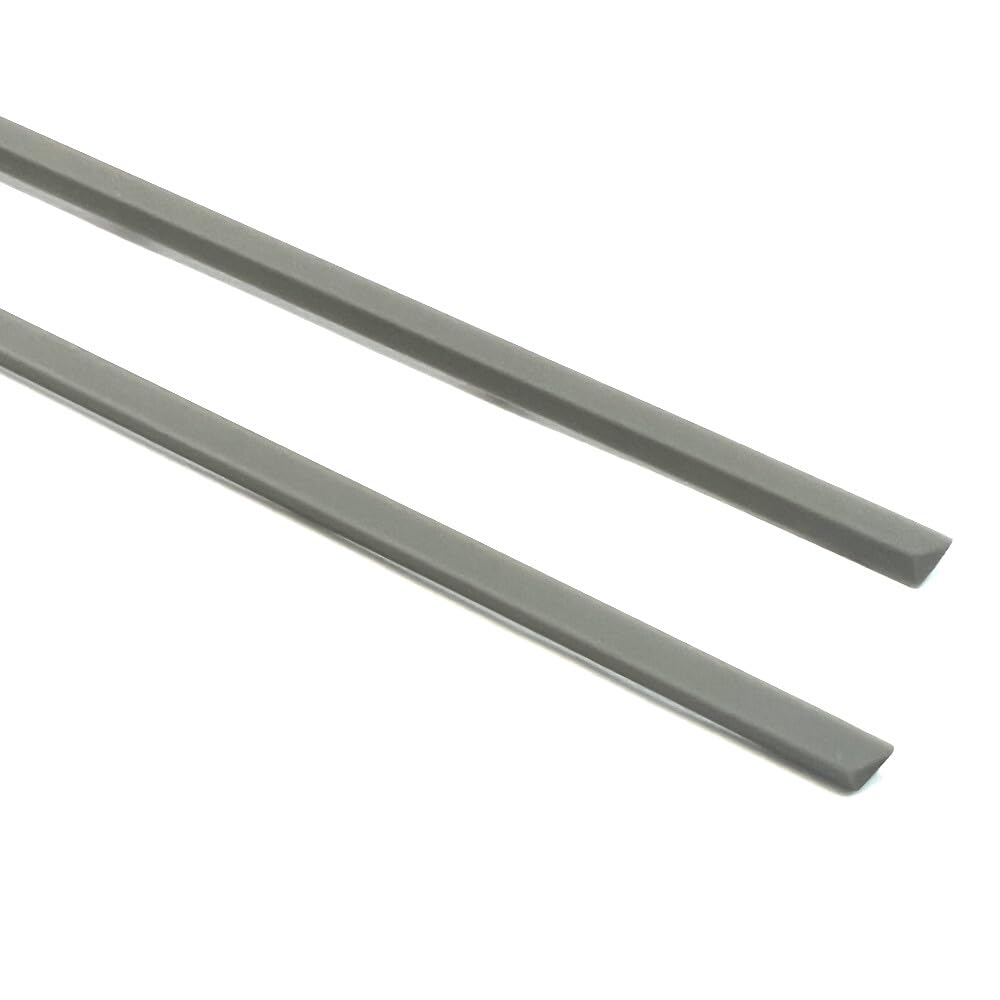
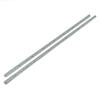
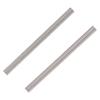
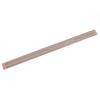
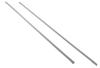
Package includes: Gray laptop bottom rubber feet (2 pieces: 1 thick, 1 thin)
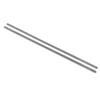
Thickness: 33.6cm x 0.5cm x 0.3cm
Thickness: 31.6cm x 0.5cm x 0.2cm)
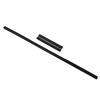
Compatible models: HP Zbook15 Power G7 G8 G9 G10 XW5
Laptop Foot Pad Installation Guide
1. Preparation
1. Select the appropriate foot pad
*Please confirm your laptop model and purchase the appropriate foot pad.
2. Preparation of Tools
*Fine-tipped tweezers or a thin-bladed knife (for removing the old foot pad).
*Alcohol swabs or a cleaning cloth (for cleaning the adhesive surface).
*New foot pad.
2. Removing the Old Foot Pad
1. Carefully peel off the old foot pad.
*Slowly peel off the old foot pad using tweezers or a knife, taking care not to damage the computer.
2. Note: If there is any adhesive tape or other fastening material remaining under the foot pad, remove it. This will affect the installation of the new foot pad.
3. Cleaning the Adhesive Surface
*Wipe the bottom of the laptop with an alcohol swab to remove any remaining adhesive or dust and ensure a secure adhesion for the new footpads.
3. Installing the New Footpads
1. Alignment
*Align the new footpads in their original positions (using the remaining old footpads and the indentations on the laptop as a reference).
2. Secure
*Peel off the protective film on the back of the new footpads and gently press them down for 10-15 seconds to ensure a firm adhesion.
*Key Check: Make sure each footpad is fully attached and that no edges are loose or floating.
4. Checking After Installation
1. Place the laptop on a flat surface and check that it is stable (adjust the position of the footpads if they are wobbly).
2. Make sure the footpads are at the same height and the laptop is not tilted.
[Notes]
1. Matching the Model
Make sure you purchase footpads that are fully compatible with your laptop model. Incompatible footpads may result in poor installation or adhesion.
2. Removal Tips
Forcibly removing the foot pads with a hard tool such as a screwdriver may damage the laptop or the internal screw holes.
3. Installation Details
If you encounter resistance, check to see if any old adhesive tape or foreign objects remain.
After installing the new foot pads, avoid moving the laptop frequently for 24 hours and allow the adhesive to fully harden.
4. Environmental Conditions
Make sure your hands and the laptop are dry before installation. Adhesion will be weakened in humid environments.
Following the above steps will ensure a secure installation of the new foot pads, extending the life of your laptop and improving your user experience.
If you have any questions, please feel free to contact our customer service. Thank you for your cooperation.
Gray Laptop Bottom Rubber Feet for HP Zbook15 Power G7 G8 G9 G10 XW5 (2 pieces: 1 thick, 1 thin)
Precautions before purchasing: Before purchasing, please confirm the model you need and make sure the product you are purchasing is compatible. (See below for detailed information.) After checking your model, please also make sure that the part you have matches the product image. The product you receive will be the same as the image, so please check carefully.
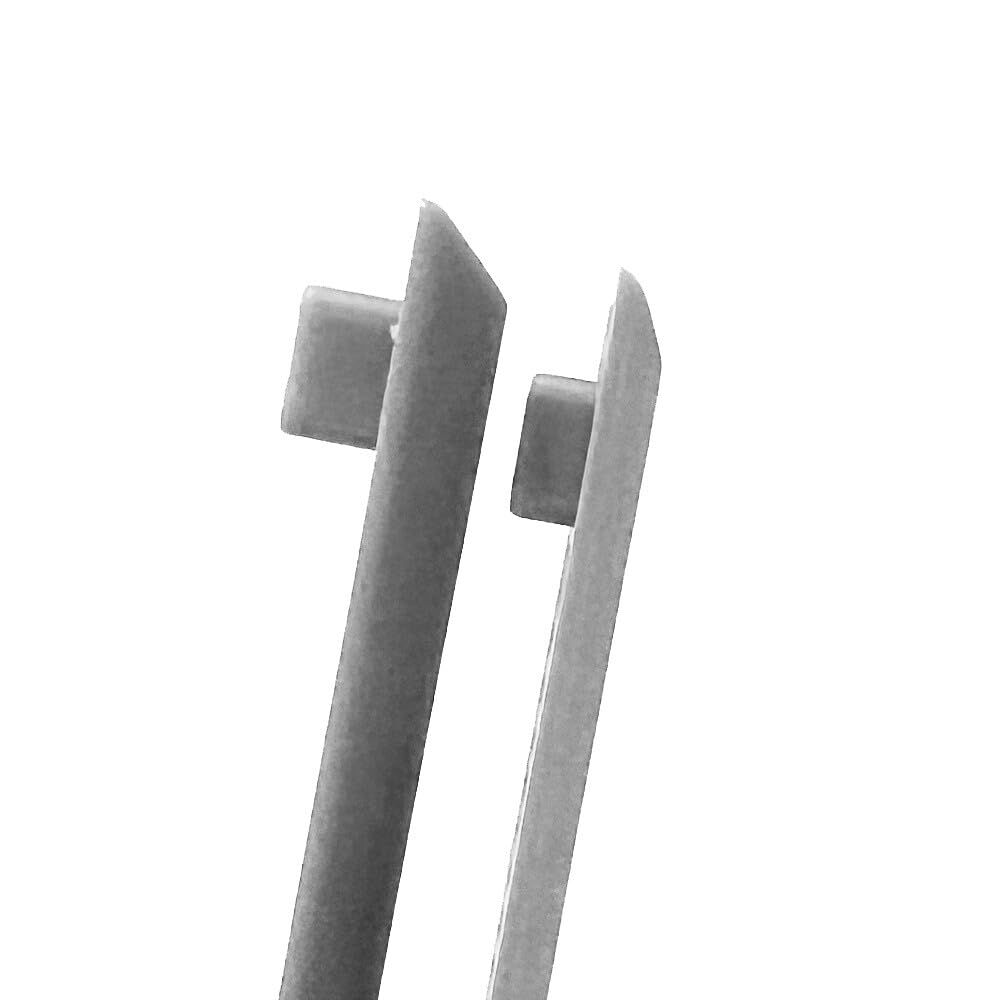
*"Foot Pad Installation Procedure and Precautions" 1. Completely remove the old foot pads to expose the mounting holes. 2. First, attach the pads from both ends, firmly fitting them into the mounting holes on the PC body. Next, align the center hole and press the pads into place to complete the installation.
Pre- and Post-Sales Support: If you have any questions before purchasing, please contact our customer support at any time. If you have any questions or dissatisfaction after receiving your product, please contact our customer support. We offer full refunds, so please rest assured.
Thank you for your continued patronage. Customer satisfaction is our top priority, and we will continue to provide you with the best possible service. We appreciate your continued patronage.