---------------------------------------------------------------------------------
Sold and shipped by Japanese sellers
* Operated by Japanese sellers - Japanese sellers with trust and experience.
* Direct from Japan - All items are carefully packed and shipped promptly from Japan.
* Highest quality control - Inspected by Japanese standards to ensure high quality products.
---------------------------------------------------------------------------------
【Voltage Compatibility】
When using electrical appliances, please note that they are designed for Japanese voltage specifications (90-110V), so if you use them with a different voltage, it may cause a malfunction.
【Plug Type】
Our products use Japanese plug types (A or B type).
Please use a conversion adapter if necessary.
【Important Note on Transformers and Adapters】
A transformer adjusts voltage to match your device’s requirements.
A conversion adapter only changes the plug shape and does not adjust voltage.
Using only a conversion adapter without a transformer may result in damage to the product.
【Liability】
We are not responsible for malfunctions or damages caused by improper use, such as operating the product without a transformer.
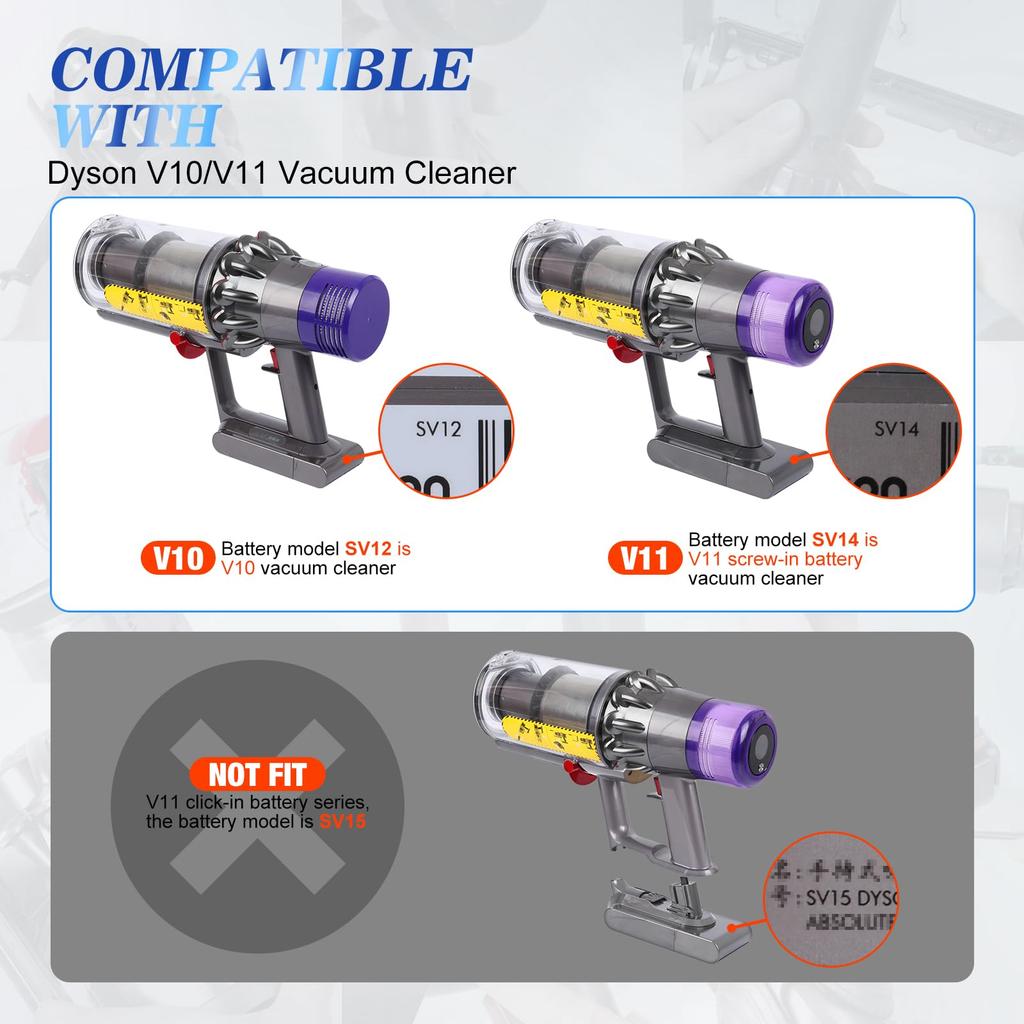
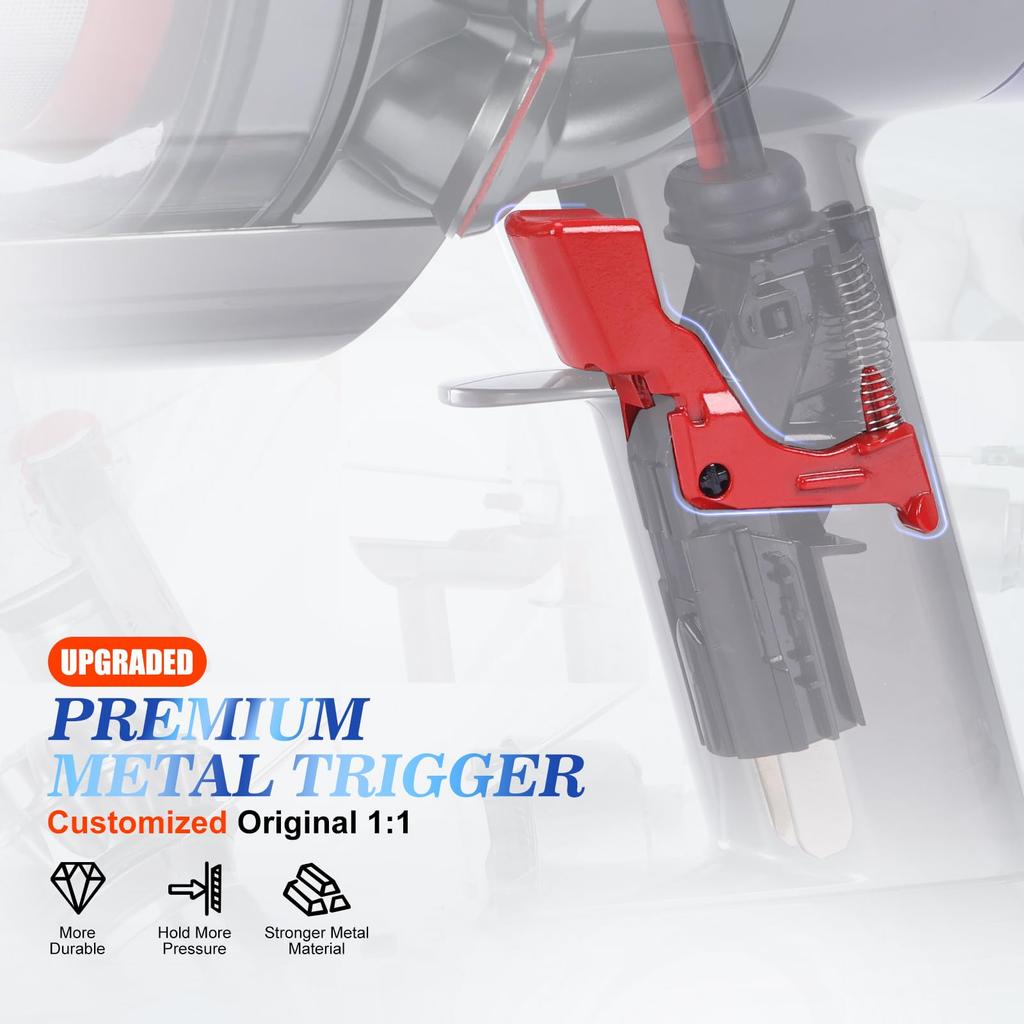
Compatible models: Replacement Dyson metal trigger switch for SV12, SV14, V10, and V11 vacuum cleaners. This super alloy, reinforced trigger switch is compatible with the SV14 screw-mounted V11 model, but is not compatible with the SV15 V11 button-detachable model.
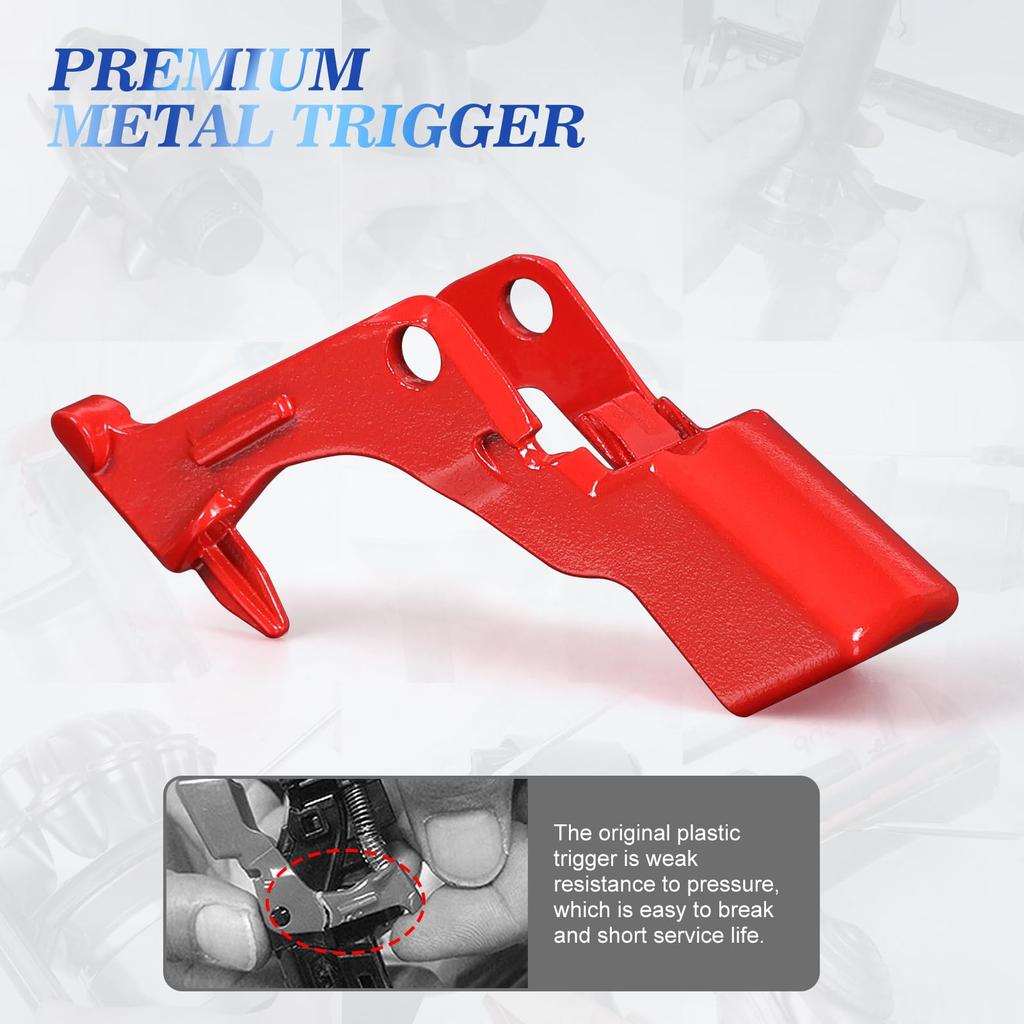
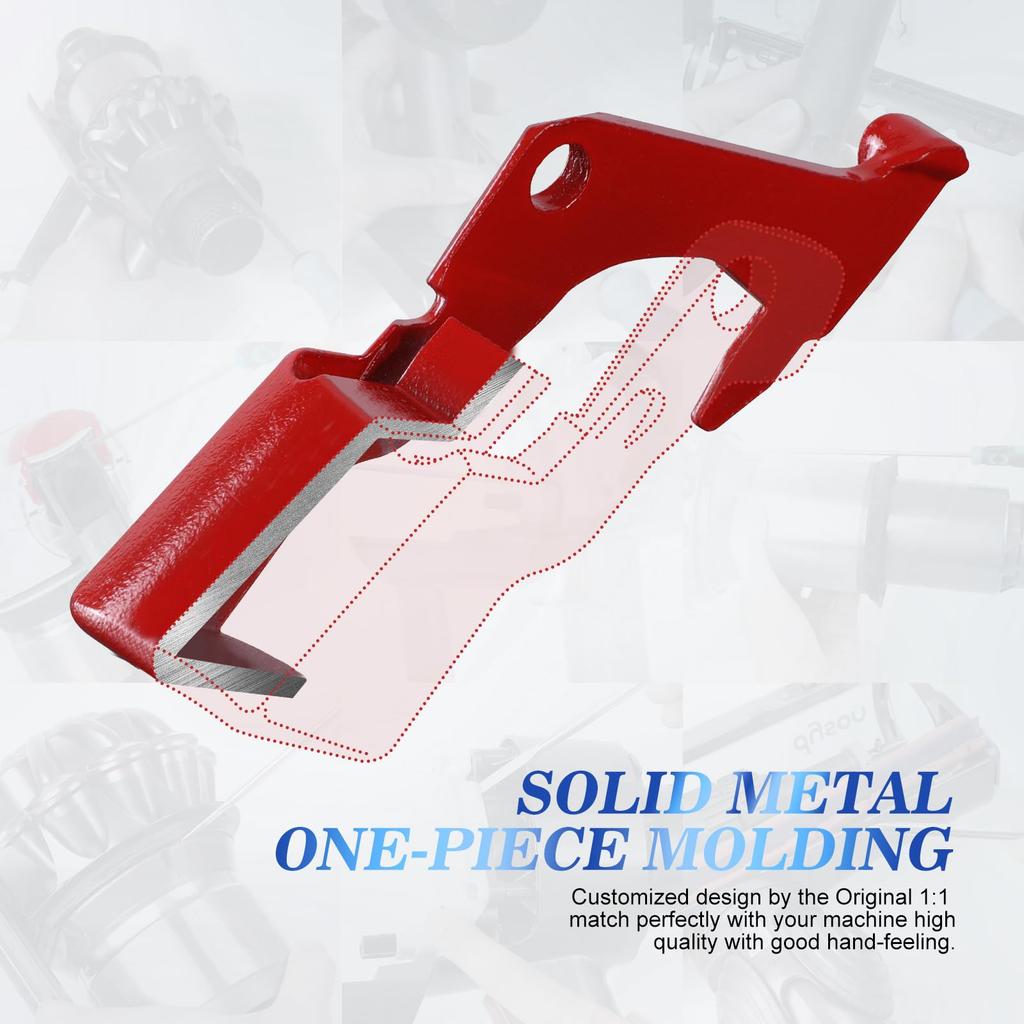
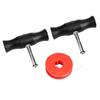
Improved and Reinforced Super Alloy 1: Metal trigger replacement for Dyson SV14 and V11 vacuum cleaners. 100% compatible with the V11 trigger switch. Made with stronger metal material and support, it's more durable than the original. The hardness of the reinforced alloy makes it resistant to deformation and pressure, even under gravity pressure.
Improved and Reinforced Super Alloy 2: The original SV12/SV14 trigger is made of plastic, which is prone to cracking, wear, and durability, and is prone to breaking after long-term use. The metal trigger, made of alloy, is hard, resistant to breakage, and more durable, achieving a longer lifespan than traditional plastic triggers. You'll never have to worry about replacing your vacuum cleaner trigger again.
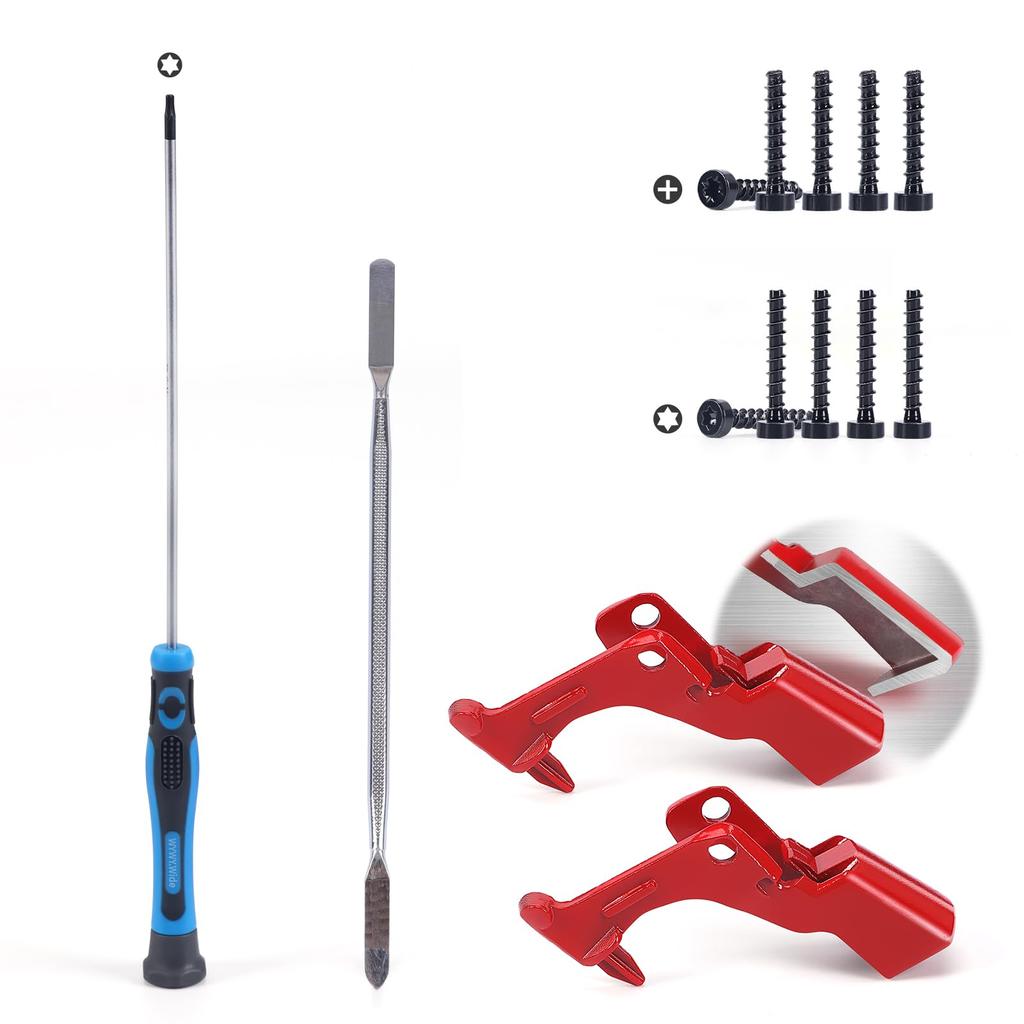
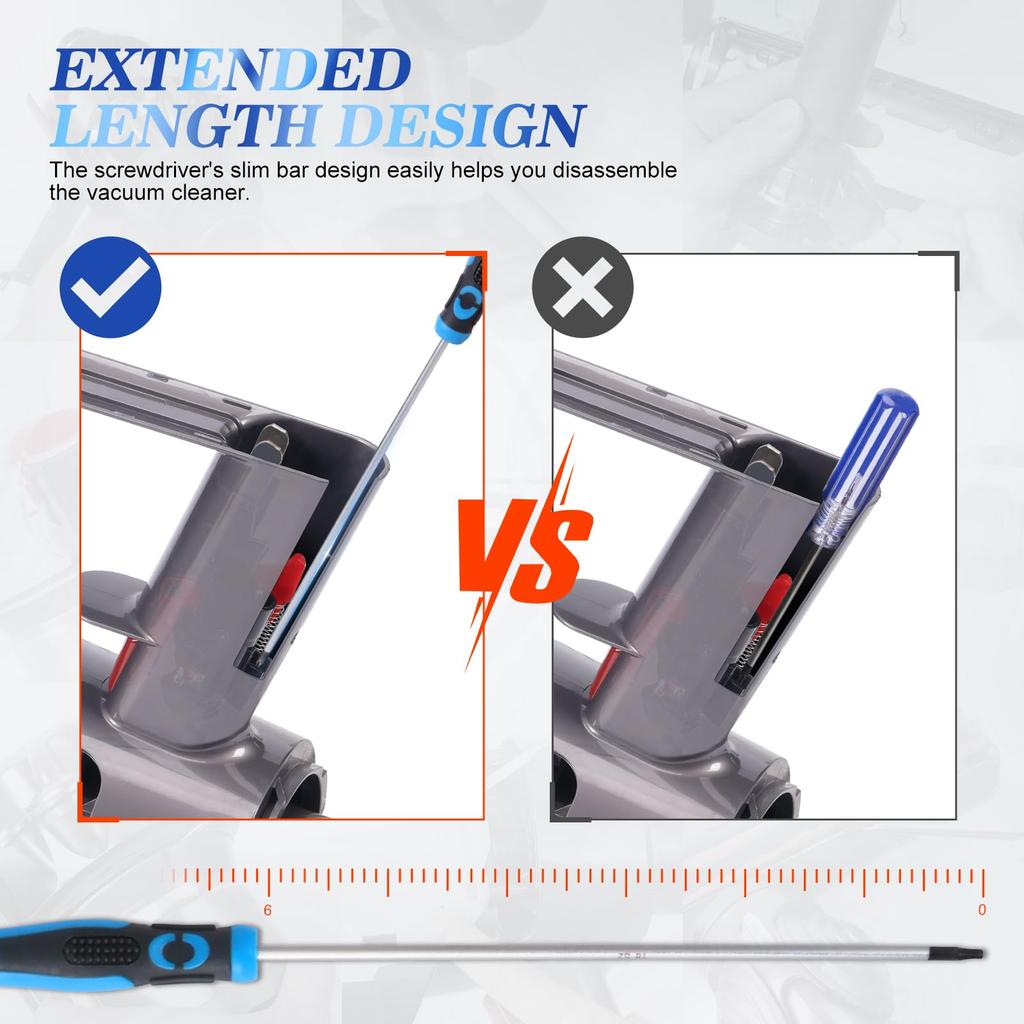
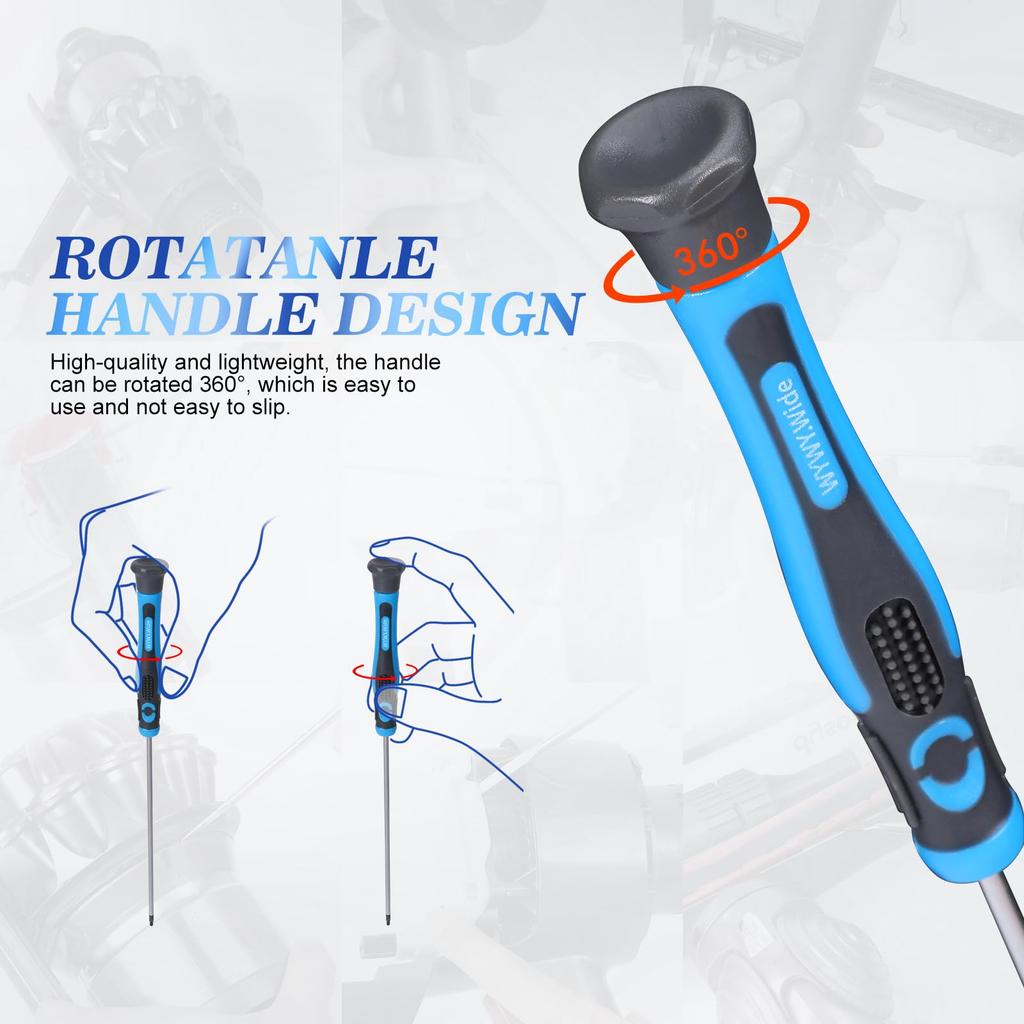
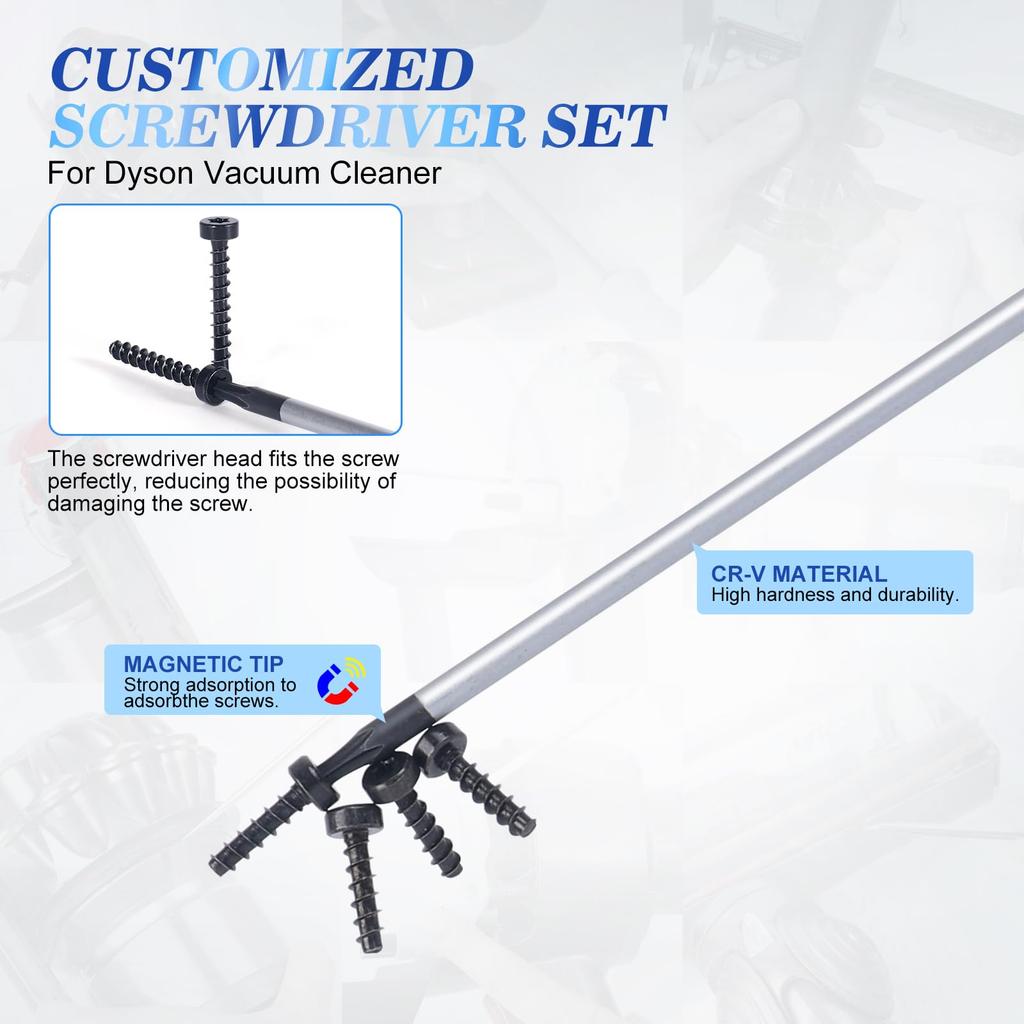
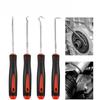
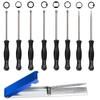
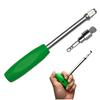
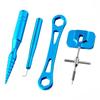
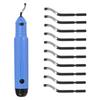
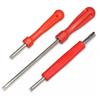
Special T8 Screwdriver: The special 25cm long-handled T8 screwdriver is designed to solve the difficult problem of installing the trigger switch for the SV12, SV14, V10, and V11 vacuum cleaners. Unlike traditional 13cm short-handled screwdrivers, the long handle has a sufficient installation distance of 25cm. Furthermore, the special T8 screwdriver has strong screw suction ability, allowing you to easily reach any broken position and replace the SV12, SV14, V10, and V11 trigger switch. No matter how deep the installation distance, repairs can be easily completed. It also comes with a special T8 screw, a Phillips head screw, and a crowbar, making installation more convenient.
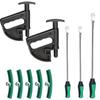
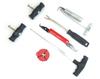
Package includes: 2 metal trigger switch buttons, 1 special T8 screwdriver, 5 special T8 screws, 5 Phillips head screws, and 1 crowbar.
Installation Guidance: Watch our detailed video tutorial Before diving into the trigger replacement, please review our comprehensive installation video. It's designed to guide you through every step, ensuring a hassle-free experience. Product Features: 100% Compatible with V10, V11, SV12, and SV14 Models - Our trigger replacement part is designed to provide seamless compatibility with these models and is a perfect match for your vacuum. Essential Tools Included - To facilitate the replacement process, we've carefully prepared a high-quality T8 Torx screwdriver and spudger. These tools are designed to make vacuum repairs easy and efficient. Package List: 2 x V10/V11 Triggers 1 x Custom Long T8 Torx Screwdriver 1 x Custom Thin Spudger 5 x Screws 5 x T8 Torx Screws Important Notice: Due to different monitor settings and lighting conditions, the color of the actual product may differ slightly from the images on the website. Due to manual work, slight variations may occur. Detailed video on V10/V11 Trigger Disassembly and Replacement
We provide tutorials, please refer to the video for smooth installation steps